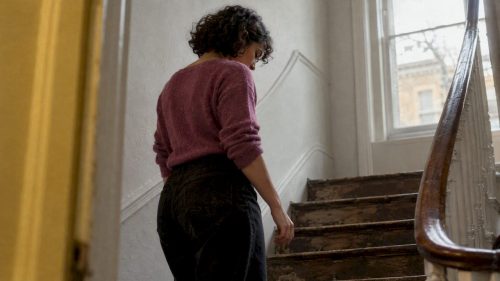
A good portrait pose is not a trick position. It is a simple base stance, a few small adjustments to angle, chin, shoulders and hands, and a photographer who keeps you moving so you never freeze. This guide gives you that base, the fixes for the most common problems, and a plan for the day of your shoot, whether it is a headshot, a brand session or a wedding.
TL;DR
- Start from a base pose: feet slightly angled to the camera, weight on the back foot, body turned a little away, head turned back.
- Push your chin gently forward and slightly down, drop your shoulders, and keep your hands soft rather than clenched or spread.
- Small movements beat held poses. Sway, breathe out, shift your weight, and let the photographer shoot between the moves.
- Natural-looking images are usually directed. A good photographer talks you through it, so you do not need to rehearse.
- Tell your photographer what the images are for. The purpose decides the pose.
Table of Contents
- Why posing feels so awkward
- The base pose that works for almost everyone
- Head, chin and face
- Shoulders, arms and hands
- Standing, sitting and leaning
- Posing for different kinds of portrait
- Common posing mistakes and quick fixes
- Why natural looking portraits are usually directed
- Our view: purpose first, pose second
- Preparing for your shoot
- Photos of people and the law
- Book a directed portrait session in London
- FAQ
- Sources
Why posing feels so awkward
Most people freeze for the same reason: they are trying to hold a shape while also thinking about their face. Both go wrong together. The shoulders rise, the jaw tightens, the hands curl up and the smile turns into a grimace.
The fix is not a better pose. It is less holding. Professional guidance on couples makes the same point: effective posing relies on communication rather than rigid directions, with small incremental movements such as swaying or adjusting the hands to keep the energy natural.
The late Lord Lichfield put the balance well in a BBC interview: a portrait is half the subject and half the photographer, and the photographer’s job includes making the sitter relaxed, not only handling light and settings. So if you feel stiff, that is partly our job to solve, not yours.
The base pose that works for almost everyone
Professional photographers tend to use a base pose rather than a list of fixed poses: feet at a slight angle to the camera, with hips and shoulders adjusted from there. It gives a structure you can tweak for different moods without feeling frozen.
Here is the version we use as a starting point for individuals:
- Turn your feet and body slightly away from the camera. Standing square to the lens makes most people look wider and more confrontational. One photographer’s headshot guide suggests an angle of roughly 15 to 30 degrees off the camera for most people.
- Put your weight on the back foot. This tips your hips and shoulders slightly and gives the body a relaxed line.
- Turn your head back towards the camera. Angling the shoulders away and turning the head back creates a more engaging and flattering shape than a flat, straight-on stance, as Fstoppers notes.
- Soften your knees. Locked knees travel up the body and show in the shoulders.
- Breathe out before the frame. It drops the shoulders without you having to think about them.
From there, we change one thing at a time: a lean, a step, a hand in a pocket, a look away and back. You rarely need to learn more than that.
Head, chin and face
Chin: forward and slightly down
The most common instruction in portrait work sounds odd and works. Instead of lifting the chin, bring the face forward from the neck and tip it very slightly down. A photographer’s headshot guide describes it as pushing the chin forward and slightly down. Another tutorial suggests thinking of bringing the ears forward rather than the chin, which helps people who overdo it and end up looking like a tortoise.
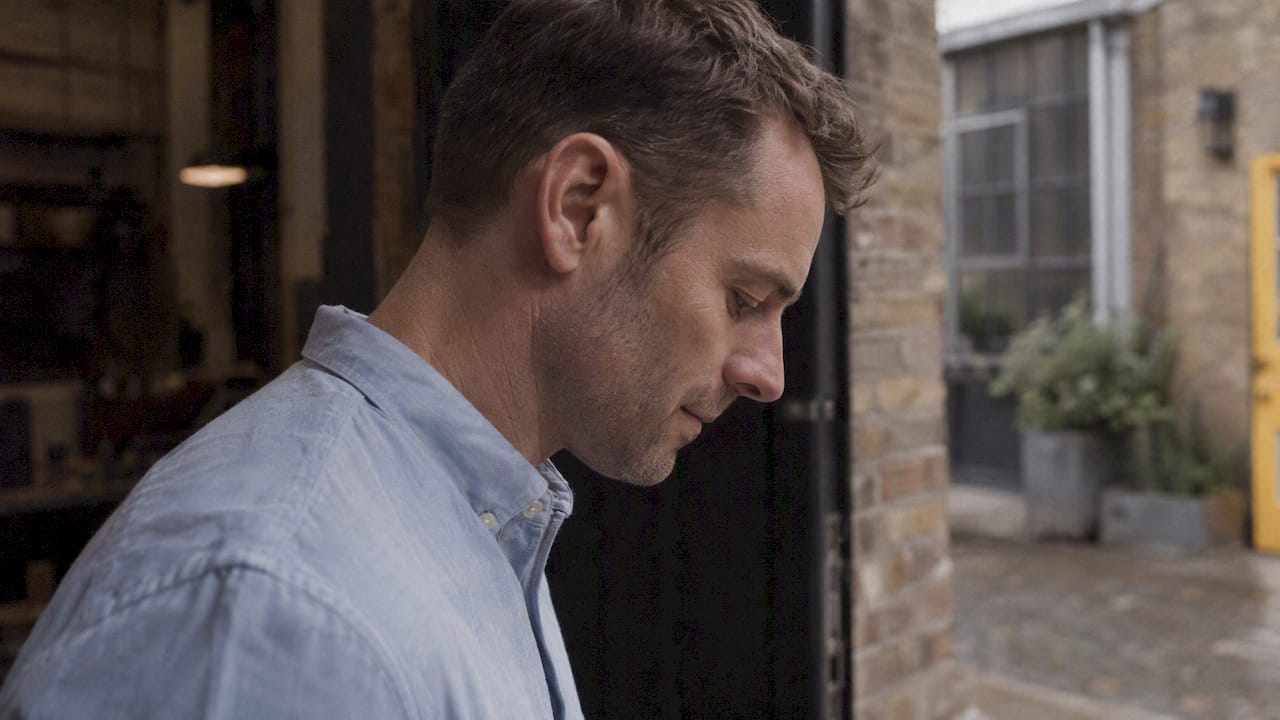
The result is a cleaner jawline and no shadow-heavy double chin. Do not overdo it: if you can feel strain in your neck, you have gone too far.
Eyes and expression
Look just past the lens or straight into it, depending on the mood. Keep the eyes soft, not wide. The same tutorial advises avoiding showing too much white of the eye, which happens when you turn your head one way and look sharply the other.
For the expression, do not hold a smile. Smile, let it drop, then think of something that genuinely amuses you. We shoot the in-between moments, and they are often the keepers.
Hair
Check your hair before you start, not after. The same tutorial recommends keeping hair off the shoulders in most portraits, and notes that a natural parting often makes one side look better than the other. If you have a preferred side, tell us at the start.
Shoulders, arms and hands
Shoulders carry the tension. Roll them back and down, then let them rest. Turning them slightly away from the camera makes the frame look less boxy, as covered above.
Arms need a little space from the body. If your arm is pressed flat against your side, it spreads and looks heavier. A small gap, a lifted elbow, or a hand in a pocket with the thumb out gives the waist and arm some air. The tutorial mentioned above calls this leaving visual space by the waist.
Hands are where most people panic. Common flaws such as the “claw hand” are avoided by keeping arms relaxed and elongated, with hands gently clasped or resting naturally. Practical options:
- Rest one hand lightly on a jacket lapel, a chair back or your own forearm.
- Hold something real: a coffee, a notebook, an instrument, a tool of your trade.
- Let the fingers stay slightly separated and loose. Pressed together, they look tense. Spread wide, they look dramatic.
- Show the side of the hand, not the back or the full palm, when it comes towards the camera.
Standing, sitting and leaning
| Position | What works | What to avoid |
|---|---|---|
| Standing | Weight on the back foot, body angled, soft knees | Feet together and square on |
| Seated | Perch on the front half of the seat, angle your body, lean slightly forward from the hips | Sitting straight on and sinking back |
| Leaning | Lean a shoulder against a wall, cross one ankle over the other | Pushing the whole body weight into the wall |
| Walking | Slow, relaxed steps towards or past the camera | Marching with arms swinging stiffly |
For seated portraits, angling your body to one side rather than sitting straight on is more flattering. Leaning slightly forward from the hips also brings the face towards the lens and gives a sense of engagement, which suits business portraits.
Posing for different kinds of portrait
The base pose is the same. The mood changes with what the picture is for.
Headshots and LinkedIn profiles. Keep the pose simple and the angle gentle. Chin forward and down, shoulders relaxed, expression warm and credible. If this is your goal, our LinkedIn headshot guide goes through it in more detail.
Personal brand and founder portraits. Here the pose should say something about what you do. Work at a desk, handle a product, walk through your space. Movement and props stop you looking like you are waiting for a verdict.
Team portraits. Group shots work best with varied heights, slightly angled bodies and a shared prompt that gets people laughing. For on-site sessions, see our team headshots in London.
Couples and weddings. Poses for couples depend on connection more than shape. Brides advises capturing natural moments such as laughing with your partner and not rehearsing specific poses in advance. If you are planning engagement or wedding photos, our engagement outfit rules help you feel comfortable before you arrive.
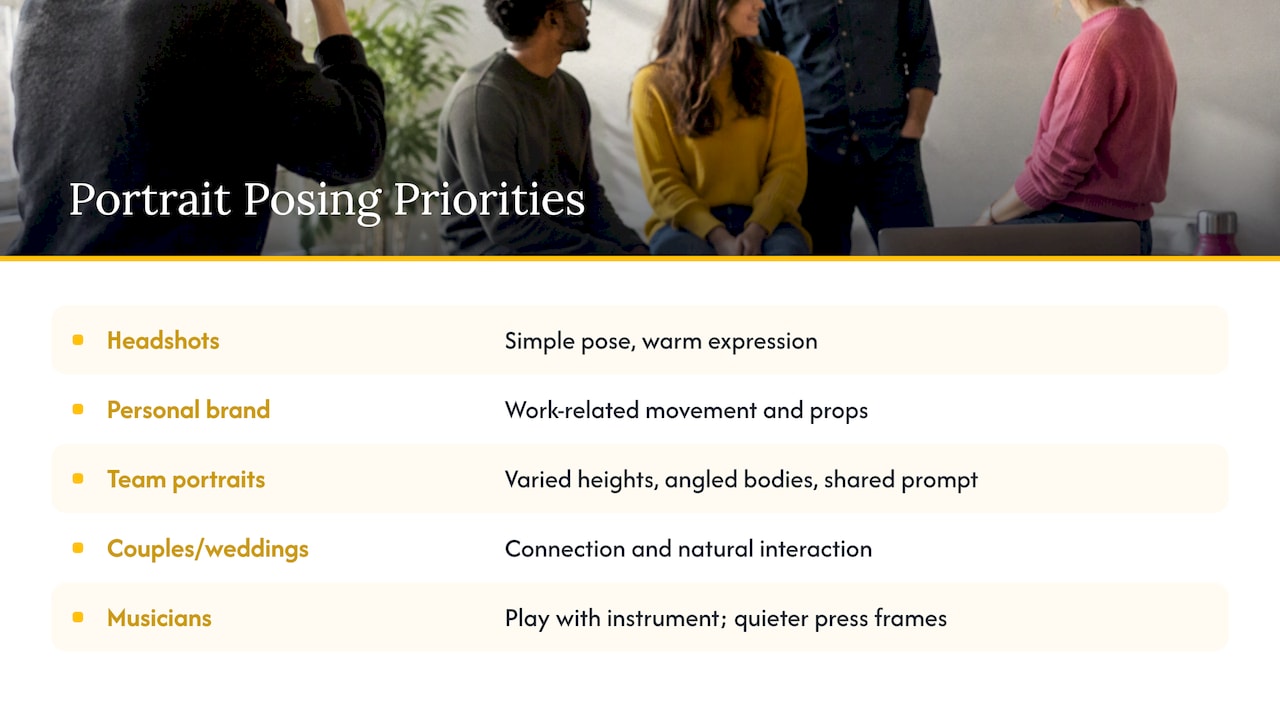
Musicians and performers. Your instrument gives your hands a job and your stance a reason. Pose around the way you actually play or stand on stage, then add a few quieter frames without the instrument for press use.
Common posing mistakes and quick fixes
| Problem | Why it happens | Fix |
|---|---|---|
| Stiff, held smile | Holding the expression | Smile, relax, and re-smile on a cue |
| Raised shoulders | Nerves | Breathe out, roll shoulders back and down |
| Claw hands | Tension | Give hands a task or rest them gently |
| Double chin | Chin tilted up or neck pulled back | Push the face forward and slightly down |
| Flat, wide body | Standing square to the lens | Turn the body 15 to 30 degrees, head back to camera |
| Hair in the way | Hair on the shoulders | Sweep it before shooting |
| Looking blank | Overthinking | Move, talk, answer a question |
Why natural looking portraits are usually directed
There is a myth that the best images happen by accident and that being natural means doing nothing. Professional photographers say otherwise: natural shots are typically the result of directed interaction, such as a whispered line or a small physical movement designed to provoke a genuine reaction the client is comfortable with.
That is our approach. You should not arrive with a Pinterest board of twelve rehearsed poses. You should arrive able to tell us what the images are for, what you like and what makes you wince. We handle the rest. If you want a short list of things to try before a session, our piece on how to look natural in photos covers four moves photographers use.
Our view: purpose first, pose second
We start every booking by asking what the photographs need to do. A headshot meant to win clients is posed differently from a portrait meant for a book cover, a press kit or a wedding album. When the purpose is clear, the posing decisions get easier: how formal, how close, what the hands do, where the eyes go.
We direct throughout. That means we tell you what to do in plain words, one thing at a time, and we shoot while you move, not while you hold. Most people are surprised how little posing they actually do. If you are worried about being awkward, say so at the start. It changes how we run the session, and it is far better than hiding it.
One more thing we believe: a pose is only worth keeping if it still looks like you. If a frame looks impressive but you would not recognise yourself in it, we will not deliver it as the hero image.
— Emmet
Preparing for your shoot
A few small choices before the day help more than any pose.
- Wear what you can move in. Tight jackets restrict your arms, which show up as stiff shoulders.
- Choose a clear purpose. Decide if the images are for LinkedIn, a website, press, or a wedding album, and tell the photographer.
- Practise one thing only. Stand in front of a mirror with the base pose and breathe out. Do not rehearse a catalogue.
- Bring references, not scripts. Two or three images you like tell us the mood. We will not copy them, but they help.
- Allow time. Rushed sessions produce stiff results. Most people relax after the first ten minutes.
Photos of people and the law
If you are a business publishing portraits of staff or customers, the images are personal data. Under UK GDPR, a photograph in which someone can be identified is personal data, and you need a lawful basis for using it, as set out in the Intellectual Property Office’s blog on copyright and GDPR for photographers. Keep a record of who agreed to what, and make it easy for people to ask for an image to be removed. If you are working on getting those portraits seen, resources on SEO for photographers explain how to publish portfolio work so clients can find it.
For specific questions about a particular staff or customer image, check with the Information Commissioner’s Office or a solicitor who handles data protection.
Book a directed portrait session in London
If you would rather not work it all out alone, we run portrait sessions in London in the studio and on location. Our portrait packages are The Solo at £200, The Brand at £500 and The Team from £795. Weddings start from £1,850, and you can see how we work on our wedding photography page. For a wider look at the services we offer, start on the LemonLens homepage.
FAQ
How do I pose for portraits if I hate being photographed?
Start with the base pose: body angled, weight on the back foot, head turned back to the camera. Then move rather than hold, and tell the photographer you are nervous. A good photographer will direct you with small, simple instructions and shoot between movements.
What should I do with my hands in a portrait?
Give them something to do or rest them lightly. A hand on a lapel, a forearm, a chair or a pocket with the thumb out all work. Avoid pressing the fingers flat together or spreading them wide, as both look tense.
Which side of my face is better?
Most people have a preferred side, often because of the hair parting or natural asymmetry. Tell your photographer at the start, and we will try both sides in the first few minutes so you can see the difference on the back of the camera.
Do I need to practise poses before a session?
Not in detail. Practise breathing out and dropping your shoulders, and think about what the images are for. Rehearsing a list of poses can make you look stiff, and the better results usually come from direction on the day.
How long does it take to get comfortable?
Most people loosen up within the first ten minutes or so of a session, once they realise they are not being asked to hold still. Longer sessions or a studio setting with a chance to see test frames tend to help nervous clients.
Sources
- How to Pose Couples for Wedding Photos: A Masterclass in Composition and Connection
- 40 Tried-and-True Wedding Photo Poses, Brides
- Portrait lessons from Lord Lichfield, BBC News
- 7 Basic Posing Tips: How to Pose for a Portrait, Envato Tuts+
- How to Pose for a Professional Headshot When You Don’t Pose for a Living, Austen Hunter
- How to Get Natural Portrait Poses Every Time, Fstoppers
- Posing Tips for Your Portrait Photography Session, Robert Senn
- Copyright and UK GDPR for photographers, Intellectual Property Office